Winning Try Breakdown: Hall's Crucial Play Explained

Welcome to your ultimate source for breaking news, trending updates, and in-depth stories from around the world. Whether it's politics, technology, entertainment, sports, or lifestyle, we bring you real-time updates that keep you informed and ahead of the curve.
Our team works tirelessly to ensure you never miss a moment. From the latest developments in global events to the most talked-about topics on social media, our news platform is designed to deliver accurate and timely information, all in one place.
Stay in the know and join thousands of readers who trust us for reliable, up-to-date content. Explore our expertly curated articles and dive deeper into the stories that matter to you. Visit Best Website now and be part of the conversation. Don't miss out on the headlines that shape our world!
Table of Contents
Winning Try Breakdown: Hall's Crucial Play Explained
The final whistle blew, the crowd erupted, and the scoreboard confirmed it: a nail-biting victory secured by one incredible play. We're breaking down the winning try, focusing on the crucial moment of brilliance delivered by none other than star player, Hall. His game-winning maneuver wasn't just luck; it was a perfect blend of skill, strategy, and timing. Let's dive into the details.
The Setup: A Tense Final Minute
With seconds ticking away and the score tied, the tension was palpable. The opposing team, known for their robust defense, had the home crowd roaring. Their defensive line was a formidable wall, leaving little room for error. The pressure was immense, not just on Hall, but the entire team. This wasn't just any game; this was a high-stakes showdown with championship implications. The atmosphere was electric, a true testament to the intensity of the rivalry.
Hall's Genius: A Masterclass in Rugby
Hall received the ball just outside the 22-meter line. The immediate pressure was immense. He could have opted for a safer play, a kick to gain territory, but he saw an opening – a fleeting opportunity that most would have missed. This is where Hall's experience and exceptional reading of the game truly shone.
Here's a breakdown of the key elements of his game-winning play:
- The Dummy Pass: His initial move was a deceptive dummy pass, drawing the attention of two defenders. This crucial misdirection created the space he needed.
- The Footwork: Hall's nimble footwork was breathtaking. He used a series of quick steps, shifting his weight to throw off the remaining defenders. This was a masterclass in agility and balance under immense pressure.
- The Breakaway: Exploiting the gap created by the dummy pass and his skillful footwork, Hall burst through the defense, leaving defenders grasping at air. The speed and power displayed here was incredible.
- The Finish: A powerful, decisive run towards the try line, securing the winning points. The precision and strength were a testament to his years of training and dedication.
Beyond the Highlight Reel: Teamwork and Strategy
While Hall's individual brilliance secured the try, it's crucial to acknowledge the team's contribution. The preceding plays, the strategic positioning, and the unwavering support from his teammates all played a vital role in setting the stage for Hall's game-winning moment. The victory was a team effort, a perfect example of how individual talent and collaborative strategy can achieve greatness. This wasn't simply a moment of individual brilliance; it was a culmination of collective effort.
Lessons Learned: Analyzing Hall's Success
Hall’s winning try offers valuable lessons for aspiring rugby players. It showcases the importance of:
- Strategic thinking: Identifying and exploiting opportunities under pressure.
- Exceptional skill: Mastering fundamental techniques like passing, footwork, and tackling.
- Mental fortitude: Maintaining composure and focus in high-pressure situations.
- Teamwork: Recognizing and capitalizing on the contributions of teammates.
This winning try will undoubtedly be analyzed and studied for years to come. It's a moment that will forever be etched in the annals of rugby history, a testament to Hall's exceptional talent and the thrilling power of the game. What are your thoughts on Hall's game-winning play? Share your analysis in the comments below!
Thank you for visiting our website, your trusted source for the latest updates and in-depth coverage on Winning Try Breakdown: Hall's Crucial Play Explained. We're committed to keeping you informed with timely and accurate information to meet your curiosity and needs.
If you have any questions, suggestions, or feedback, we'd love to hear from you. Your insights are valuable to us and help us improve to serve you better. Feel free to reach out through our contact page.
Don't forget to bookmark our website and check back regularly for the latest headlines and trending topics. See you next time, and thank you for being part of our growing community!
Featured Posts
-
 Carlos Mendoza Hao Yu Lee Fuel Mud Hens 20 Run Offensive Eruption
May 19, 2025
Carlos Mendoza Hao Yu Lee Fuel Mud Hens 20 Run Offensive Eruption
May 19, 2025 -
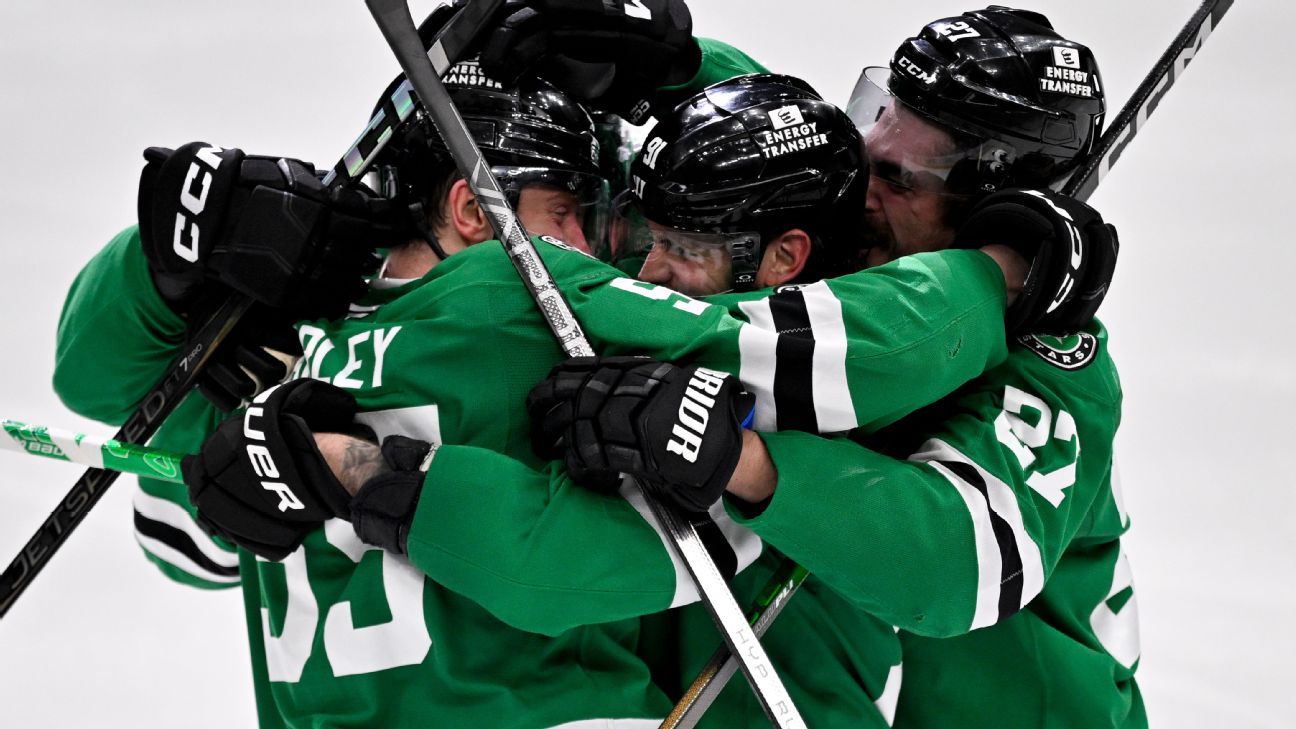 Western Conference Finals Bound Dallas Stars Make It Three In A Row
May 19, 2025
Western Conference Finals Bound Dallas Stars Make It Three In A Row
May 19, 2025 -
 Snl Goodbye Sketches Analyzing The Humor Heartbreak And Lasting Impact On The Show
May 19, 2025
Snl Goodbye Sketches Analyzing The Humor Heartbreak And Lasting Impact On The Show
May 19, 2025 -
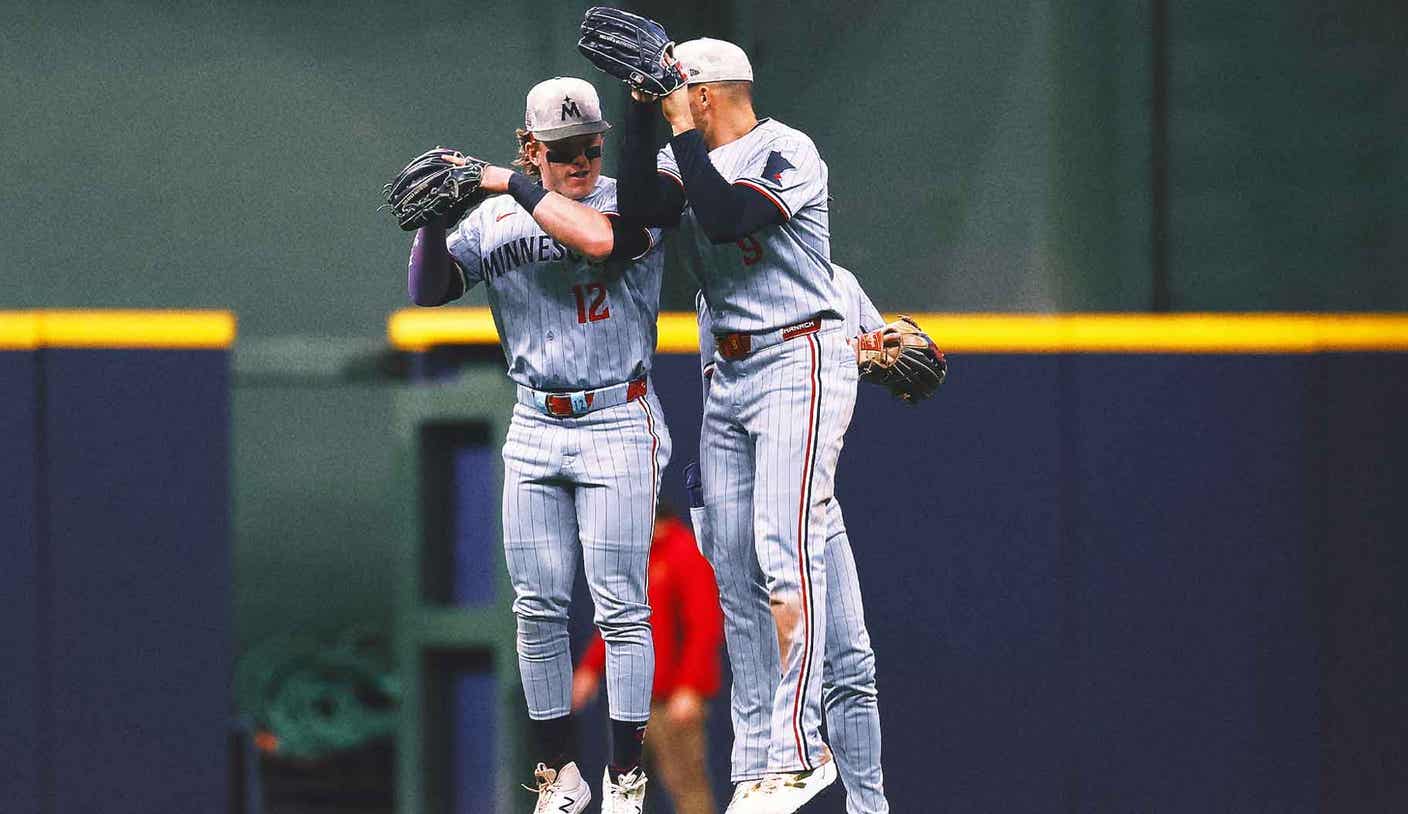 Minnesota Twins Extend Winning Streak To 13 Games Longest Run Since 1991
May 19, 2025
Minnesota Twins Extend Winning Streak To 13 Games Longest Run Since 1991
May 19, 2025 -
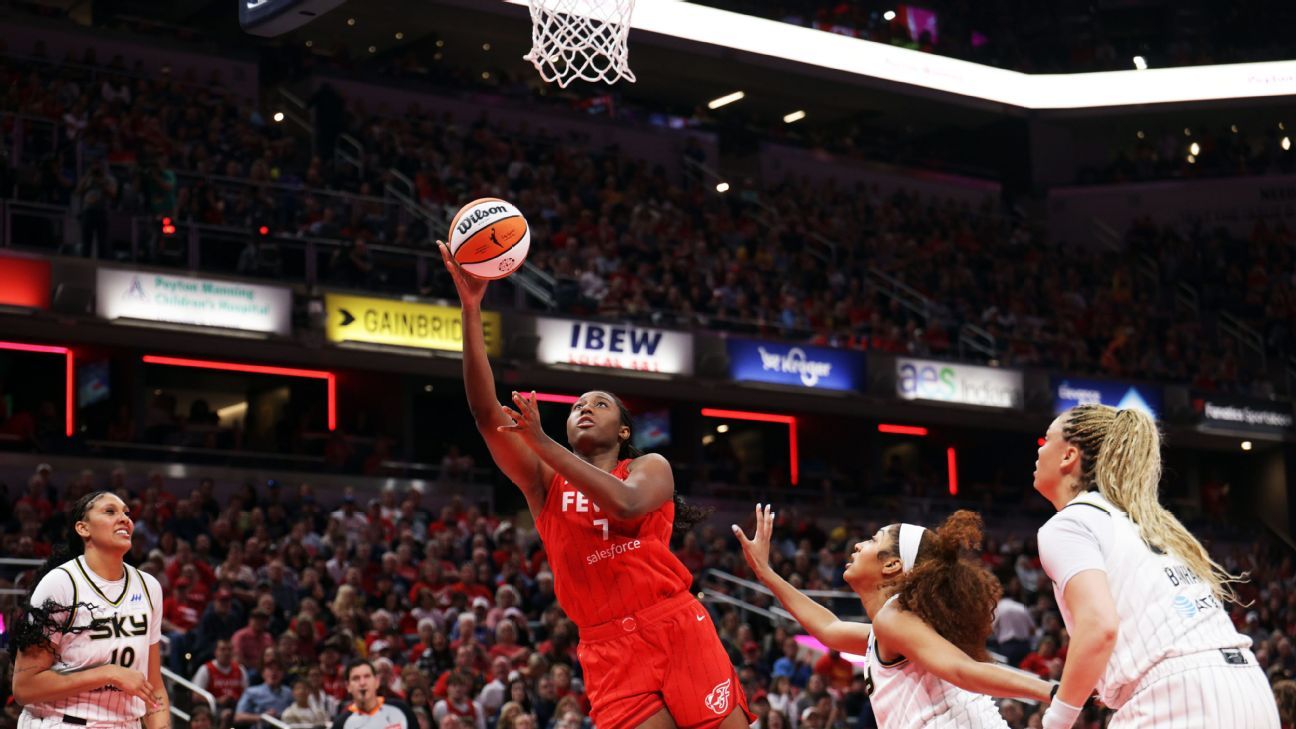 Fever Defeat Sky Caitlin Clarks Triple Double Leads The Charge
May 19, 2025
Fever Defeat Sky Caitlin Clarks Triple Double Leads The Charge
May 19, 2025

